- Published on
Creating an EC2 Instance
- Authors

- Name
- Daisuke Kobayashi
- https://twitter.com
Open the AWS Management Console and select EC2 from the home screen.
There is a region selector next to your account name in the upper-right corner, so change it to Asia Pacific (Tokyo). The instance is created in the region selected there. Choose the region based on where your users are. Network speed is affected by physical distance as well, so if most of your users are in Japan, Tokyo is a good choice.
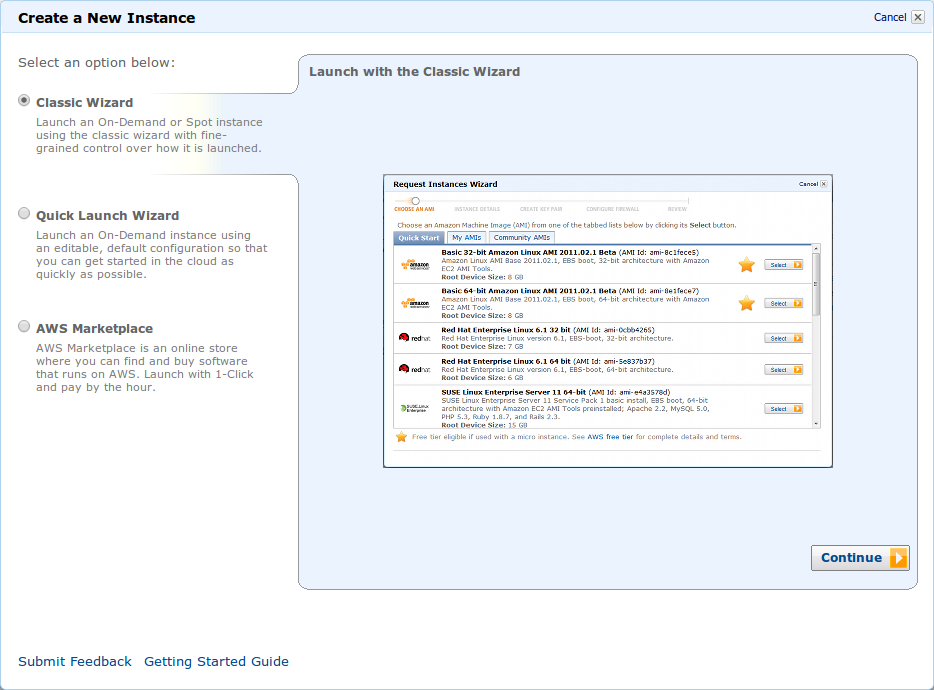
In the first wizard screen, choose Classic Wizard.
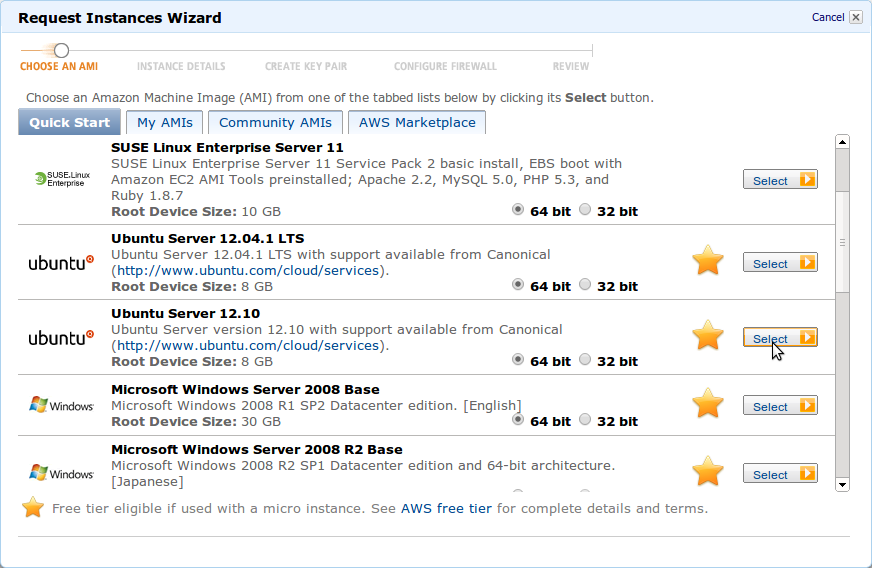
This time I selected Ubuntu 64bit.
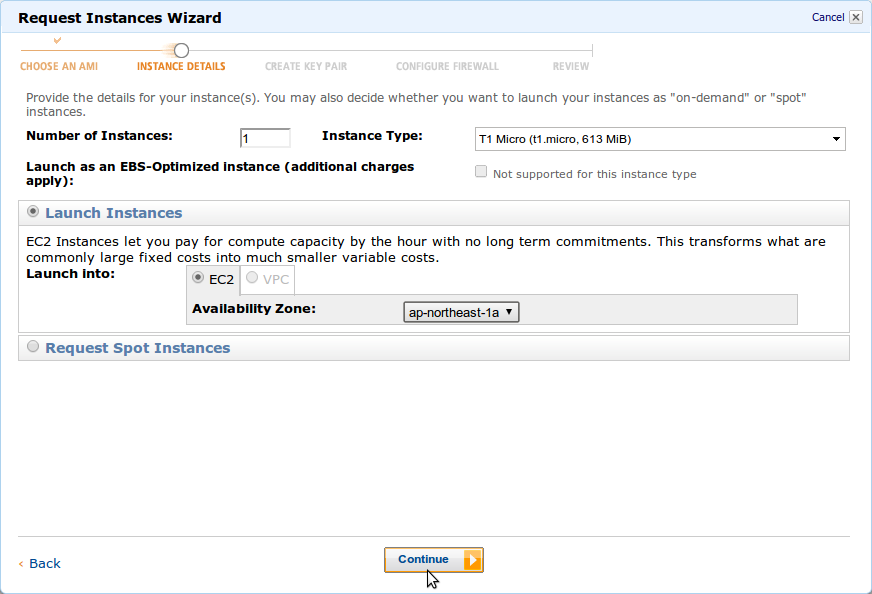
Choose Micro for the instance type. Types other than Micro are not covered by the free usage campaign.
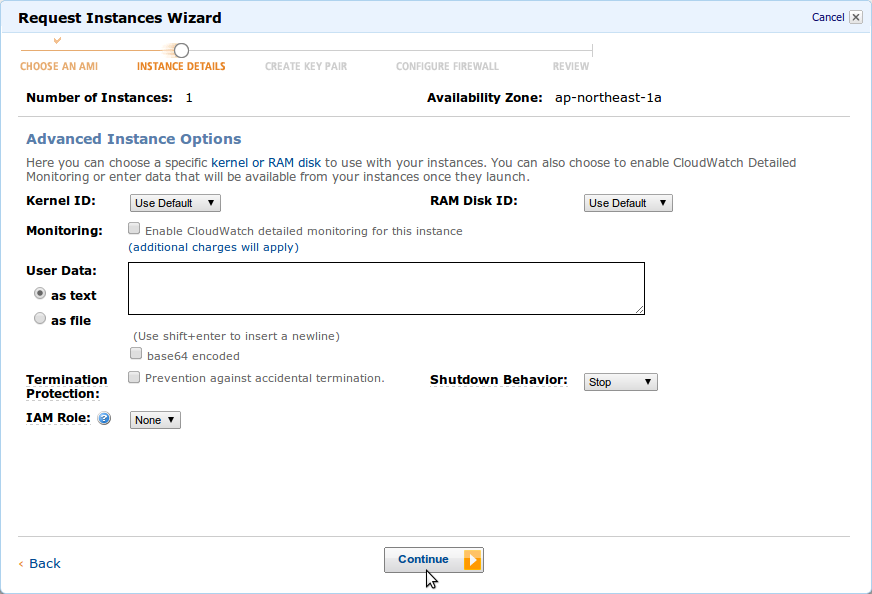
I left the next screen as-is.
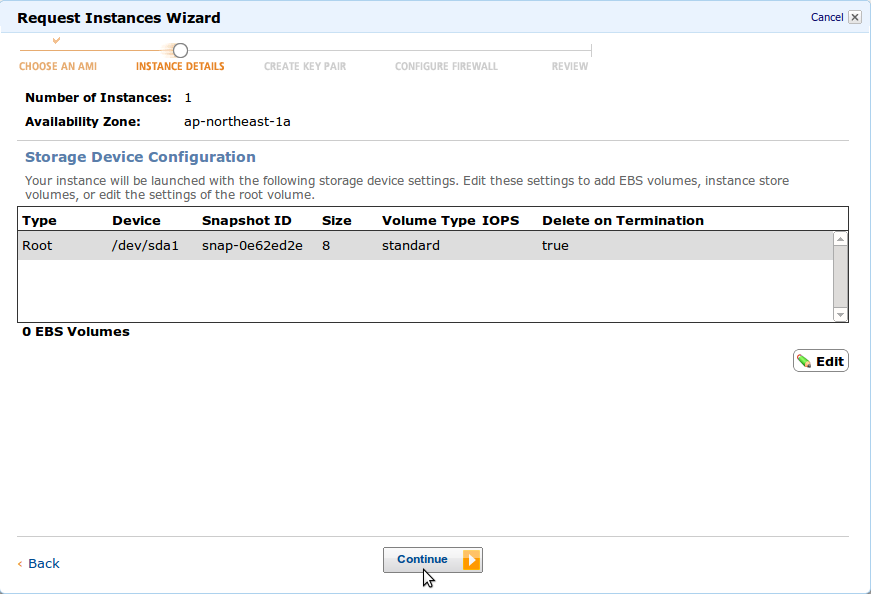
I also left the following screen unchanged.
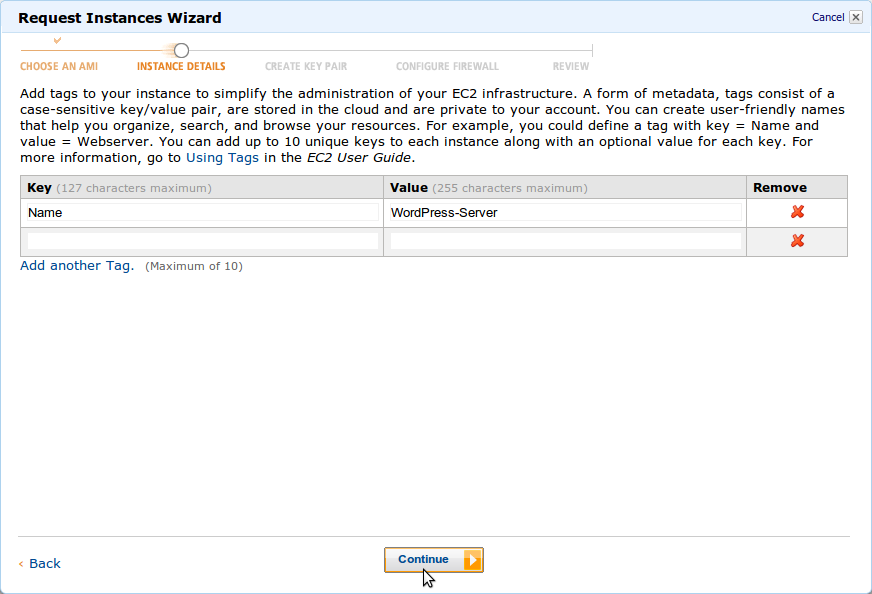
Give the instance an appropriate name.
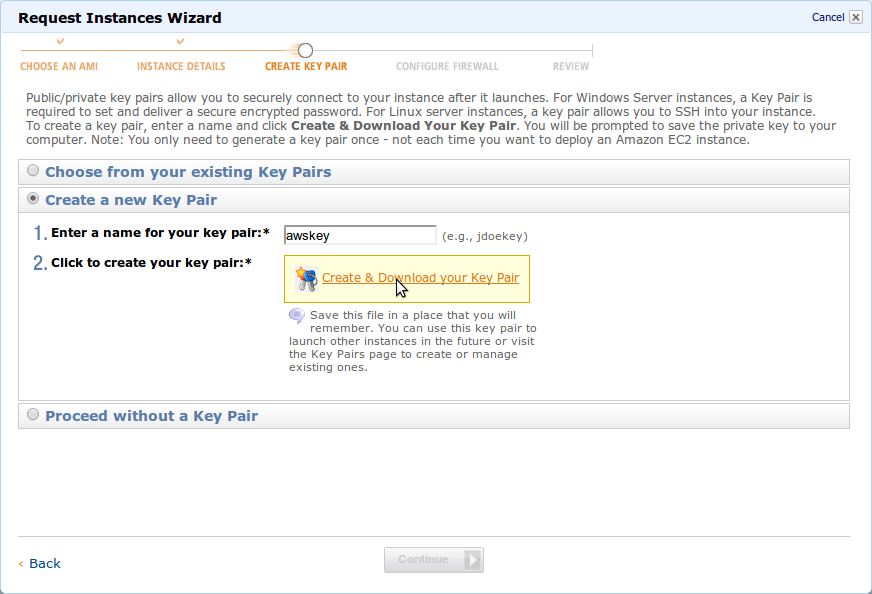
Create a key pair. You need it when accessing the instance over SSH.
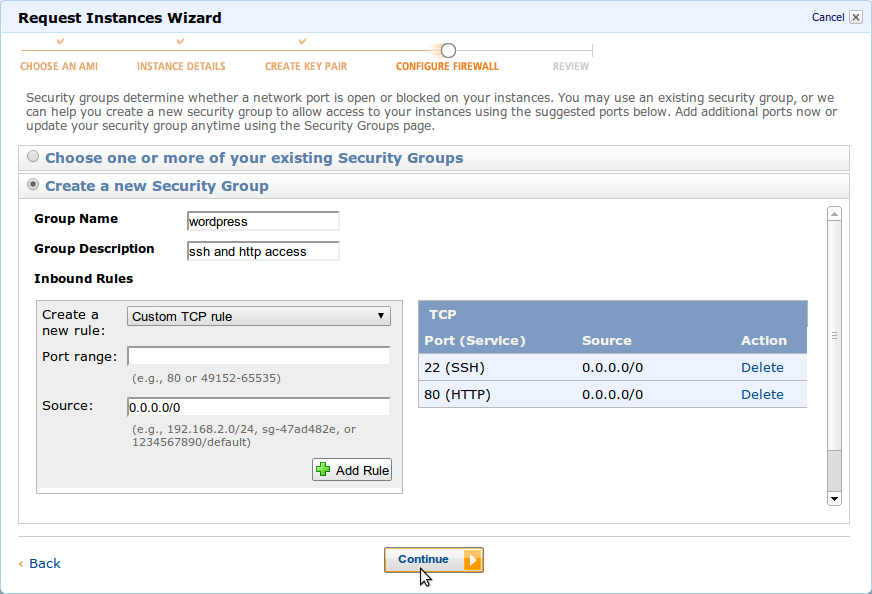
This time I planned to publish the instance as a WordPress server, so I also allowed HTTP access. Choose Custom TCP rule, enter 80 for Port range, enter 0.0.0.0/0 for Source, and click Add Rule to allow HTTP access.
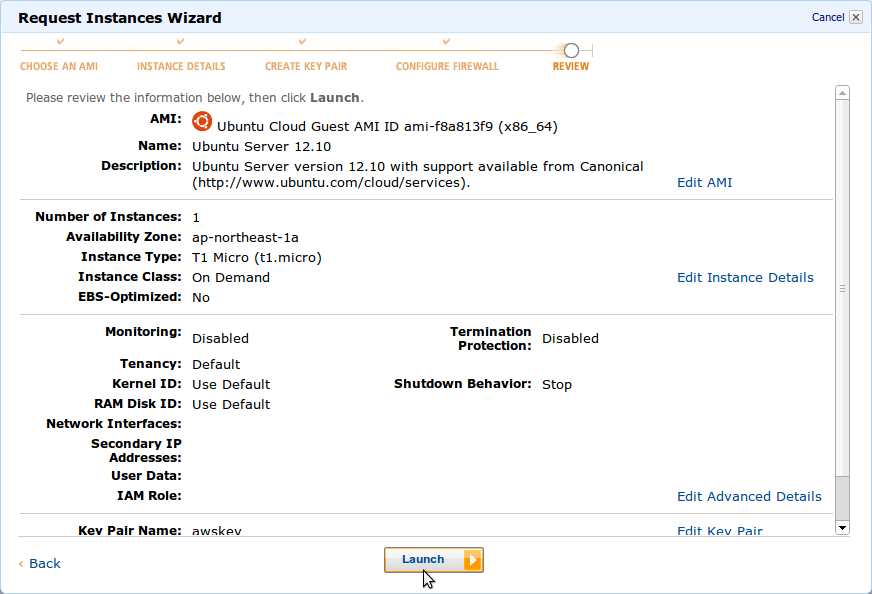
Finally, a confirmation screen appears. If everything looks good, click Launch to create the instance.